

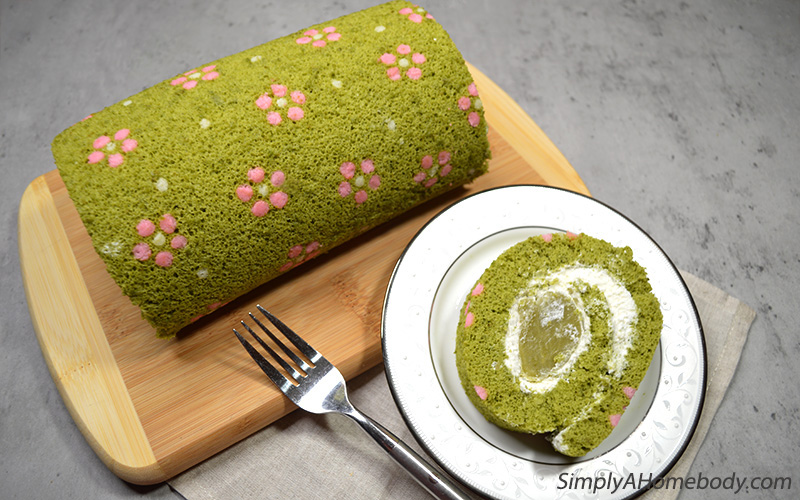
This fluffy matcha roll cake is flavored with ceremonial grade matcha and filled with semi-sweet whipped cream and chewy matcha mochi. The outside is decorated with pink flower patterns using simple techniques.
What is matcha?
In case you are wondering what matcha is, it is a high-grade green tea ground into powdered form.
When you shop for matcha powder, you’ll notice there are two major grades of matcha, ceremonial grade and culinary grade. Culinary grade matcha powder is usually cheaper than ceremonial grade because they are lower in quality. Ceremonial grade has better taste and the more vibrant green color you’ll want for your roll cake.
Matcha powder can be purchased at local Asian grocery stores or online like Amazon.
How to make a patterned roll cake?
A pattern on a roll cake can be created by piping colorful pastes onto a parchment-lined jelly roll pan and freezing them then layering on roll cake batter. After that, bake the cake and peel off the parchment paper and you’ll see the pattern transferred to the cake! To finish up, roll up the cake with a tasty filling:) I’ve explained the detailed steps in the recipe section.
If you want to use the same flower pattern template that I used, you can download it from here:
For this matcha roll cake, I adapted the matcha Swiss roll recipe from JustOneCookbook.com.
Ingredients
For the decorating paste
- 2 tablespoons unsalted butter, soft but not melted, 30g
- 2½ tablespoons granulated sugar, 30g
- 1/3 cups cake flour, sifted, 40g
- 1 egg white, large
- Pink food coloring
For the matcha cake
- 4 large eggs
- ¾ cups cake flour, 90g
- ½ teaspoons baking powder, 2g
- 2 tablespoons matcha (green tea powder), 12g
- ½ cups granulated sugar, 100g, separated to ¼ cup each
- 2 tablespoons warm milk, 30ml
For the whipped cream filling
- 1 cup heavy whipping cream, 240ml
- 2 tablespoons powdered sugar, 16g
- ½ teaspoons pure vanilla extract, 2.5ml
For the matcha mochi
- ¾ cups Mochiko, 100g
- 4 tablespoons granulated sugar, 50g
- 1 teaspoon matcha (green tea powder), 3g
- ¾ cups water, 180ml
- Some cornstarch for dusting
How to make this matcha roll cake
For the decorating paste
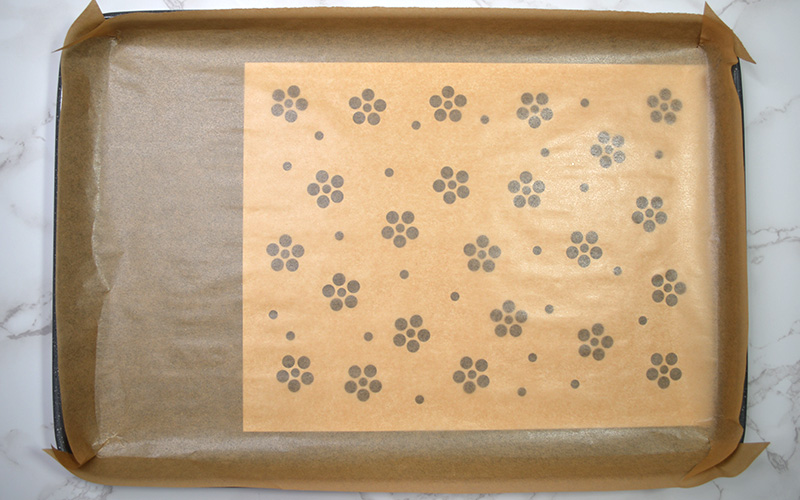
- Lightly butter or grease the bottom and sides of a 15 by 10-inch jelly roll pan. Place any templates you like and put parchment paper over it, or you can line parchment paper with your design traced onto the backside with thick pencil lines.
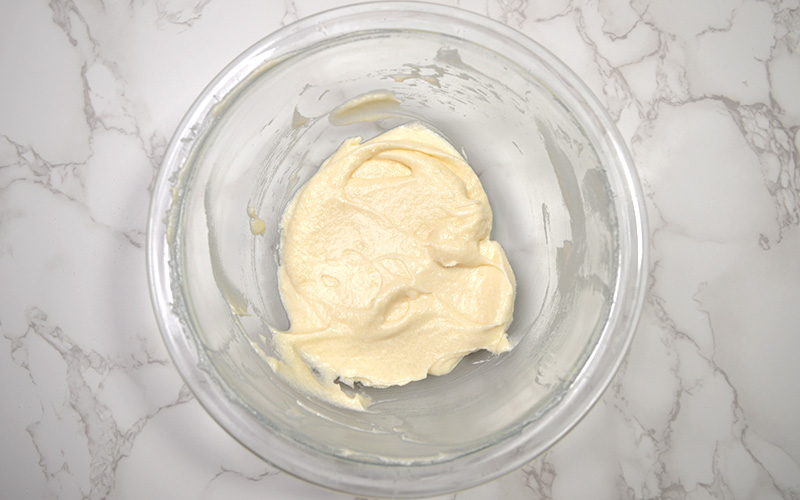
2. To make a paste, with a spatula or wooden spoon, mix softened butter and sugar together until you get a smooth paste.
3. Add flour and mix until partially incorporated, then add egg white and mix until smooth. Paste should have a buttercream-like consistency.
POINT: Make sure there are no large lumps. If there are, straining the paste is recommended.
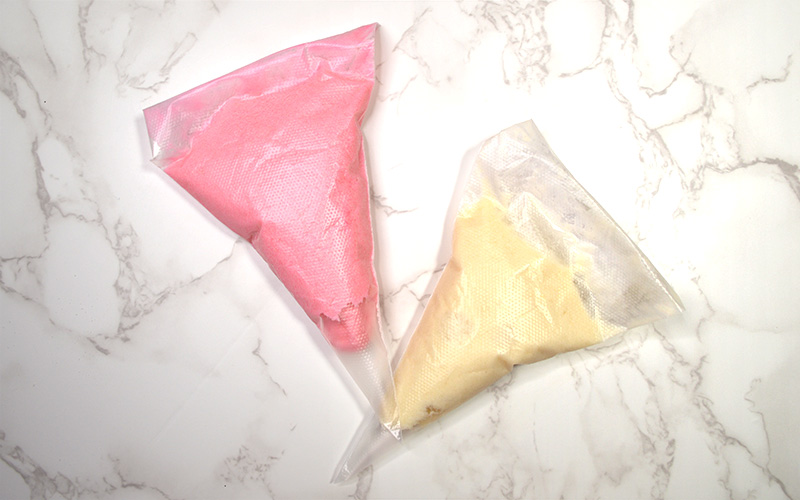
4. Divide the paste into two portions. Leave one half as plain and add pink food colorings to the rest and mix well.
5. Transfer the plain and pink pastes into separate piping bags. Snip the tips off about 2mm.
6. Carefully pipe design onto parchment paper.
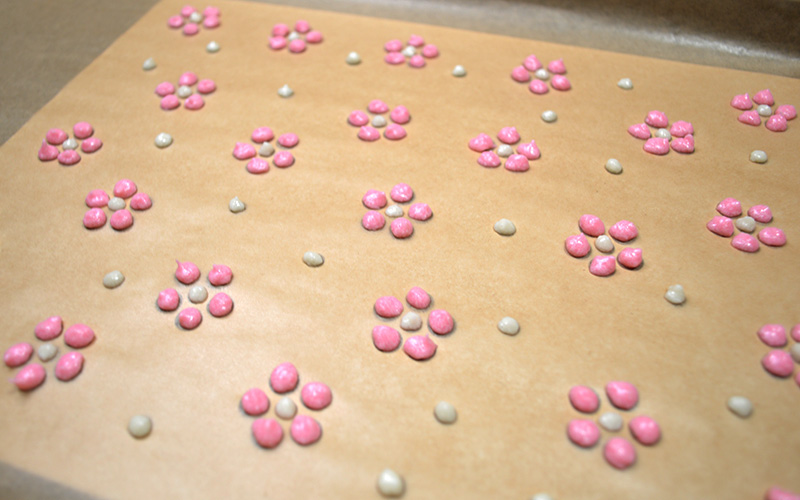
7. Place the pan in the freezer to allow the design to set while you prepare the rest of the batter.
For the matcha cake
- Preheat oven to 350ºF/175ºC.
- Separate the egg yolks and whites into two bowls. Keep the egg whites in the refrigerator, and the egg yolk at room temperature.
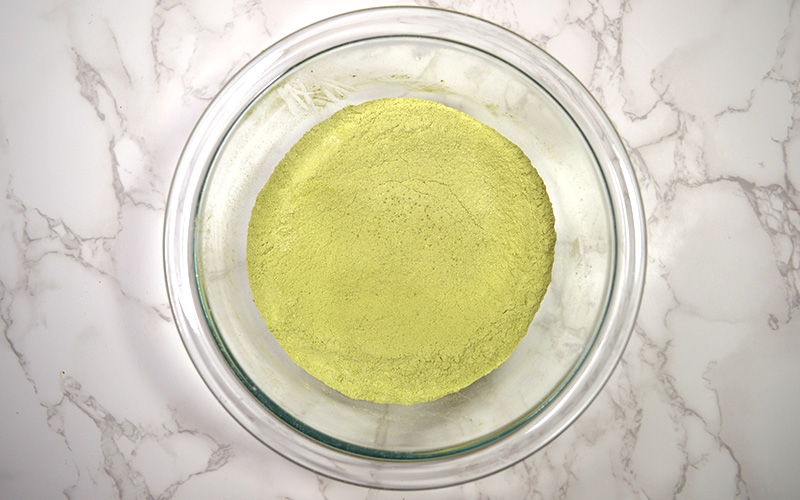
- Using a fine-mesh sieve, sift the cake flour, baking powder, and matcha (green tea) powder over a large mixing bowl. Set it aside.
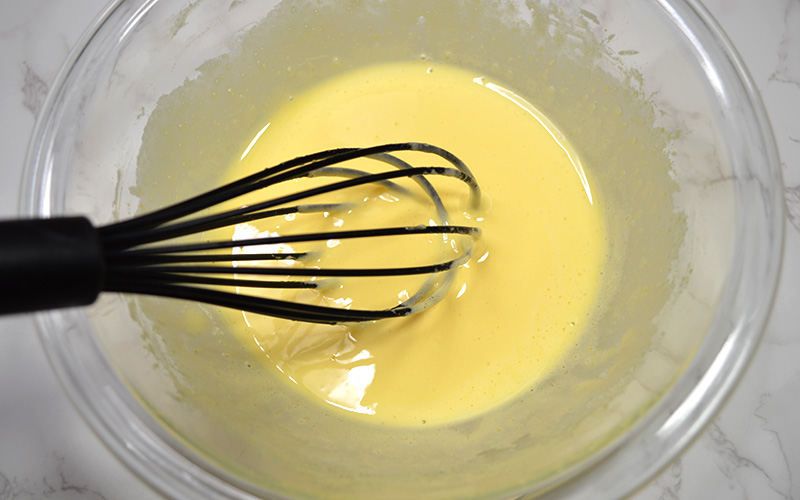
4. In a separate large bowl, mix the egg yolks and half of the sugar (¼ cup, 50 g) and whisk until the egg mixture becomes lightened in color and double in volume. Set it aside.
5. In another bowl, beat the cold egg whites with an electric hand mixer or stand mixer until foamy.
6. Gradually add the remaining sugar (¼ cup, 50 g) over three separate times and beat until stiff peaks form and egg whites are glossy.
7. Gently whisk in ⅓ of the egg whites to the egg yolk mixture until incorporated in the batter. Then add the mixture back into the egg whites. Gently fold in egg whites with a silicone spatula.
8. Add the dry ingredients to the egg mixture. Fold in gently until just incorporated by using the silicone spatula.

POINT: Do not overmix the batter. Overmixing will cause the cake to turn out flat.
9. Add the warm milk and fold in until incorporated.
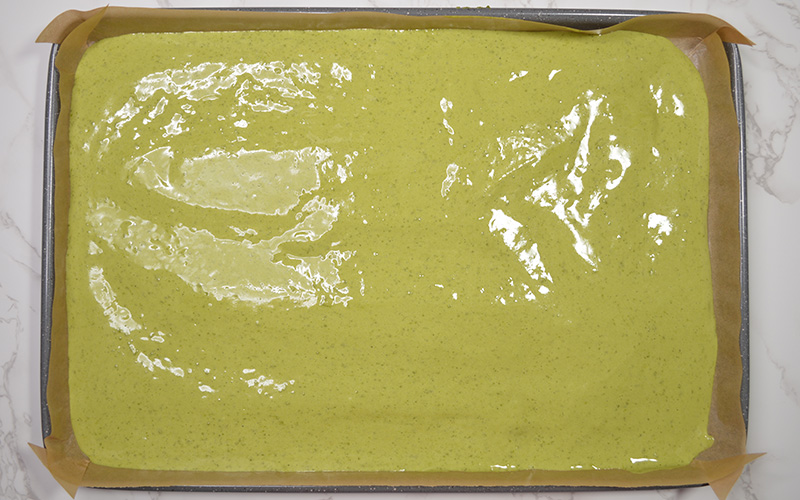
10. Take out the jelly roll pan with decorations from the freezer and pour the matcha batter over top of the frozen design, spreading the batter into an even layer using a large offset spatula. Tap the jelly roll pan a few times on your working surface to remove the air bubble inside the batter.
11. Bake for 10-12 minutes, or until an inserted toothpick comes out clean and the top of the cake springs back when touched. Be careful not to overbake to avoid cracking.
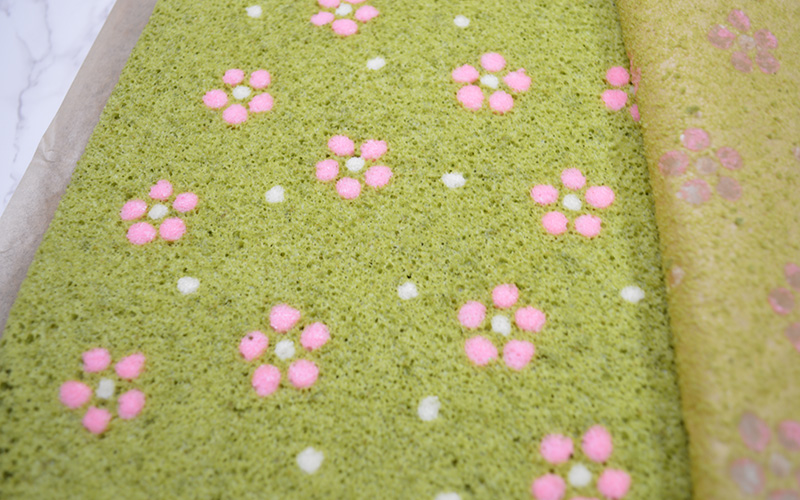
12. Remove from oven. Quickly and carefully invert warm cake onto a piece of parchment backed by a solid surface like a large cutting board. Peel off parchment paper backing, revealing the design.
13. Place a new parchment paper on top of the warm cake. Flip cake over so the design is facing down.
14. Starting with the side of the cake without the design, carefully roll up the warm cake in the parchment paper. Doing this while the cake is still warm will mold the cake into a rolled shape and makes it easier to roll it back up later with the filling.
15. Let the rolled cake cool for about 1 hour or until completely cool to the touch.
For the whipped cream filling
- Place your mixing bowl in the freezer or fridge 5-10 minutes before starting.
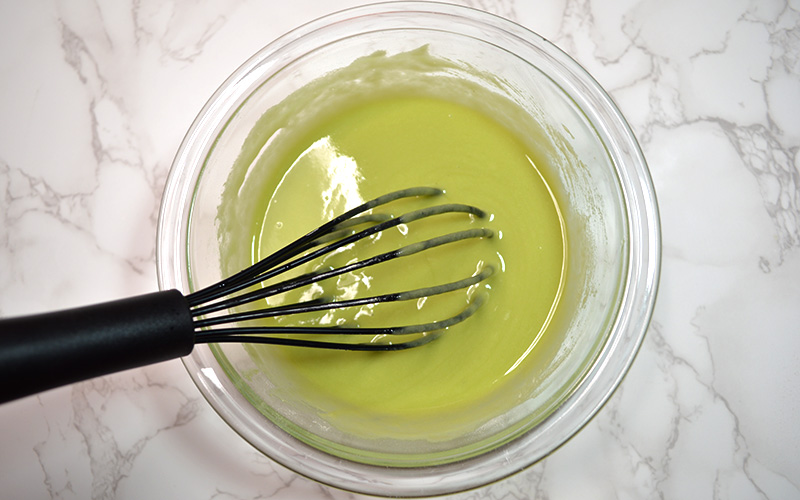
- In the chilled bowl, beat the heavy whipping cream, powdered sugar, and vanilla extract on medium-high speed for 3-4 minutes until stiff peaks form.
- Store the whipped cream mixture in a refrigerator until needed.
For the matcha mochi
- In a microwave-safe bowl, mix mochiko, sugar, and matcha (green tea) powder.
- Add water and mix until everything is dissolved completely.
3. Cover the bowl with plastic wrap or kitchen towel loosely. Microwave at full power for 2 minutes. Take it out and mix it with a wet spatula.
4. Cover and microwave for 30 more seconds until the dough becomes slightly translucent.
5. Generously dust the jelly roll pan you used to make the cake with cornstarch.
6. Transfer the matcha-flavored mochi dough onto the pan, and sprinkle more cornstarch onto the dough.
7. Shape the dough into one 10-inch wide cylinder. *Caution: It’s very hot!

8. Tap the mochi cylinder to remove excess cornstarch. Cover the mochi with plastic wrap and set it aside until needed.
For the assembly
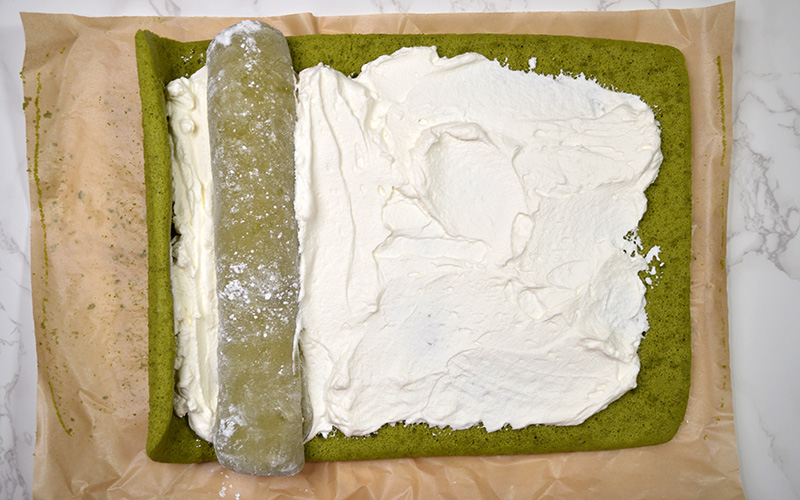
- Carefully unroll cake. You may need to hold it with your hand as it will try to roll back up. Spread the whipped cream filling into a thin even layer over the whole cake, leaving about 1/2 inch – 1 inch bare at the far end.
- Place matcha mochi on the edge of the cake where you start rolling. Start rolling from the side with no patterns so that the patterns will end up outside the cake.
3. Gently roll up the cake, taking care not to use too much pressure so that the filling does not squeeze out the sides. Wrap tightly in plastic wrap and refrigerate for at least 2 hours or overnight.

When you are ready to eat
Cut into slices with a sharp knife (the design parts are harder than the cake itself. The slices will look best if you cut by pulling the knife gently towards you, letting the weight of the knife do the cutting; it may take a few strokes to get through the firmer design parts. Try not to saw back and forth or press down or the design will compress into the cake).
Storing matcha roll cake
If tightly wrapped and refrigerated, the matcha roll cake will last up to 3 days.
If you like this matcha cake roll, you may also like:
- Hello Kitty Cake Roll – A step by step recipe with a template
- Matcha Mille Crepe Cake – Low-Calorie Version
- Matcha Panna Cotta

Matcha Roll Cake with Mochi
Equipment
- 15" x 10" Jelly Roll Pan
- Parchment paper
- Silicone Spatulas
- Wooden Spoon Optional
- Large bowls
- Small bowls
- Piping Bags
- Fine-mesh Sieve
- Electric Hand Mixer or Stand Mixer
- Whisk
- Plastic wrap
Ingredients
For the decorating paste
- 2 tablespoons unsalted butter soft but not melted, 30g
- 2½ tablespoons granulated sugar 30g
- ⅓ cups cake flour sifted, 40g
- 1 egg white large
- pink food coloring
For the matcha cake
- 4 eggs large, separate to yolk and white
- ¾ cups cake flour 90g
- ½ teaspoons baking powder 2g
- 2 tablespoons matcha (green tea) powder 12g
- ½ cups granulated sugar 100g, separated to 1/4 cup each
- 2 tablespoons warm milk 30ml
For the whipped cream filling
- 1 cup heavy whipping cream 240ml
- 2 tablespoons powdered sugar 16g
- ½ teaspoons pure vanilla extract 2.5ml
For the matcha mochi
- ¾ cups mochiko 100g
- 4 tablespoons granulated sugar 50g
- 1 teaspoon matcha (green tea) powder 3g
- ¾ cups water 180ml
- corn starch for dusting
Instructions
For the decorating paste
- Lightly butter or grease the bottom and sides of a 15 by 10-inch jelly roll pan. Place any templates you like and put parchment paper over it, or you can line parchment paper with your design traced onto the backside with thick pencil lines.
- To make a paste, with a spatula or wooden spoon, mix softened butter and sugar together until you get a smooth paste.
- Add flour and mix until partially incorporated, then add egg white and mix until smooth. Paste should have a buttercream-like consistency. Make sure there are no large lumps. If there are, straining the paste is recommended.
- Divide the paste into two portions. Leave one half as plain and add pink food colorings to the rest and mix well.
- Transfer the plain and pink pastes into separate piping bags. Snip the tips off about 2mm.
- Carefully pipe design onto parchment paper.
- Place the pan in the freezer to allow the design to set while you prepare the rest of the batter.
For the matcha cake
- Preheat oven to 350ºF/175ºC.
- Separate the egg yolks and whites into two bowls. Keep the egg whites in the refrigerator, and the egg yolk at room temperature.
- Using a fine-mesh sieve, sift the cake flour, baking powder, and matcha powder over a large mixing bowl. Set it aside.
- In a separate large bowl, mix the egg yolks and half of the sugar (¼ cup, 50 g) and whisk until the egg mixture becomes lightened in color and double in volume. Set it aside.
- In another bowl, beat the cold egg whites with an electric hand mixer or stand mixer until foamy.
- Gradually add the remaining sugar (¼ cup, 50 g) over three separate times and beat until stiff peaks form and egg whites are glossy.
- Gently whisk in ⅓ of the egg whites to the egg yolk mixture until incorporated in the batter. Then add the mixture back into the egg whites. Gently fold in egg whites with a silicone spatula.
- Add the dry ingredients to the egg mixture. Fold in gently until just incorporated by using the silicone spatula. Do not overmix the batter. Overmixing will cause the cake to turn out flat.
- Add the warm milk and fold in until incorporated.
- Take out the jelly roll pan with decorations from the freezer and pour the matcha batter over top of the frozen design, spreading the batter into an even layer using a large offset spatula. Tap the jelly roll pan a few times on your working surface to remove the air bubble inside the batter.
- Bake for 10-12 minutes, or until an inserted toothpick comes out clean and the top of the cake springs back when touched. Be careful not to overbake to avoid cracking.
- Remove from oven. Quickly and carefully invert warm cake onto a piece of parchment backed by a solid surface like a large cutting board. Peel off parchment paper backing, revealing the design.
- Place a new parchment paper on top of the warm cake. Flip cake over so the design is facing down.
- Starting with the side of the cake without the design, carefully roll up the warm cake in the parchment paper. Doing this while the cake is still warm will mold the cake into a rolled shape and makes it easier to roll it back up later with the filling.
- Let the rolled cake cool for about 1 hour or until completely cool to the touch.
For the whipped cream filling
- Place your mixing bowl in the freezer or fridge 5-10 minutes before starting.
- In the chilled bowl, beat the heavy whipping cream, powdered sugar, and vanilla extract on medium-high speed for 3-4 minutes until stiff peaks form.
- Store the whipped cream mixture in a refrigerator until needed.
For the matcha mochi
- In a microwave-safe bowl, mix mochiko, sugar, and matcha (green tea) powder.
- Add water and mix until everything is dissolved completely.
- Cover the bowl with plastic wrap. Microwave at full power for 2 minutes. Take it out and mix it with a wet spatula.
- Cover and microwave for 30 more seconds until the dough becomes slightly translucent.
- Generously dust the jelly roll pan you used to make the cake with cornstarch.
- Transfer the matcha-flavored mochi dough onto the pan, and sprinkle more cornstarch onto the dough.
- Shape the dough into one 10-inch wide cylinder. *Caution: It’s very hot!
- 8. Tap the mochi cylinder to remove excess cornstarch. Cover the mochi with plastic wrap and set it aside until needed.
For the assembly
- Carefully unroll cake. You may need to hold it with your hand as it will try to roll back up. Spread the whipped cream filling into a thin even layer over the whole cake, leaving about 1/2 inch – 1 inch bare at the far end.
- Place matcha mochi on the edge of the cake where you start rolling. Start rolling from the side with no patterns so that the patterns will end up outside the cake.
- Gently roll up the cake, taking care not to use too much pressure so that the filling does not squeeze out the sides. Wrap tightly in plastic wrap and refrigerate for at least 2 hours or overnight.


